Building a personal computer offers unparalleled benefits over purchasing a pre-assembled model. Not only does it allow for extensive customization to suit individual needs, but it also provides an opportunity to understand the mechanics and intricacies of computer hardware. Given the cost-effectiveness and the ability to choose each component according to one’s requirements, it becomes an increasingly appealing option. This article provides a comprehensive step-by-step guide to building a PC from scratch, empowering those looking to undertake this rewarding project. From planning and budgeting to assembling and troubleshooting, each aspect is covered in detail.
Contents
Why Building Your PC Makes Sense

While the convenience of purchasing a pre-built computer cannot be denied, building one’s PC offers unique advantages. Primarily, it is more cost-effective. Pre-built systems often include a markup for labor and brand reputation, driving up the cost. By selecting and assembling the components manually, individuals can save a considerable amount of money or invest in higher-grade parts.
Additionally, building a PC permits unparalleled customization. Whether one is looking for a high-end gaming machine or a simple computer for daily tasks, the flexibility to choose each part allows for a more tailored experience. Beyond that, the process serves as an educational experience, enabling the builder to understand the function and importance of each hardware component.
What You Need to Know Before You Start

Before diving into the project, understanding some basic terms and requirements is crucial. Familiarize yourself with terms like CPU (Central Processing Unit), GPU (Graphics Processing Unit), RAM (Random Access Memory), and SSD (Solid State Drive). Knowing what these components do will make the subsequent steps much easier and more meaningful.
The physical environment for building the computer also needs attention. A clean, spacious area is ideal for laying out the components and assembling the PC. Ensure all necessary tools, such as screwdrivers and cable ties, are within reach. Lastly, set a budget for the project to guide the choice of components and prevent overspending.
Preparing a Shopping List

Embarking on the journey to build a PC starts with a well-thought-out shopping list. Knowing the components required is vital: CPU, GPU, RAM, SSD/HDD, motherboard, power supply, and a case to house everything. Each part plays a crucial role, and omitting even one can result in an incomplete or non-functional build.
Navigating through brands and specifications might feel overwhelming, but it’s part of the fun and challenge. Online forums, reviews, and buying guides can be excellent resources for making informed choices. Also, consider where to buy the components. Online retailers often offer competitive prices and a broad selection, but local stores provide the benefit of immediate availability and in-person advice.
Unpacking and Initial Preparations

Before diving into the assembly process, it’s crucial to unpack each component carefully and verify that everything is intact. Lay out each part on a clean, non-static surface, taking care to keep static-sensitive items like the motherboard and CPU in their anti-static bags until they are needed. Pictures of the components and serial numbers can also be useful for warranty purposes.
Once all items are accounted for, it’s advisable to read the manuals with the components, particularly the motherboards. They often contain critical information on compatibility, installation steps, and configurations. Keep these manuals handy throughout the build process, as they can serve as quick references for troubleshooting and assembly.
The Build Process Step-by-Step
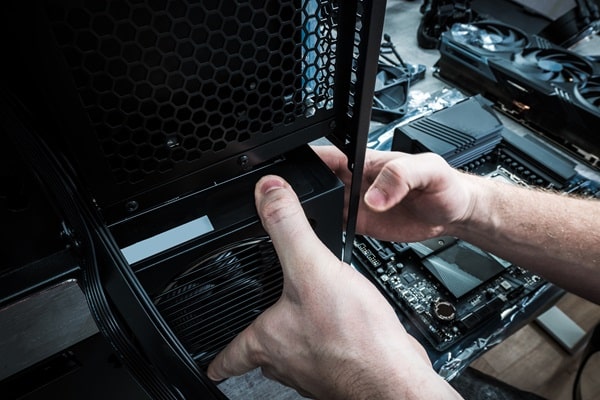
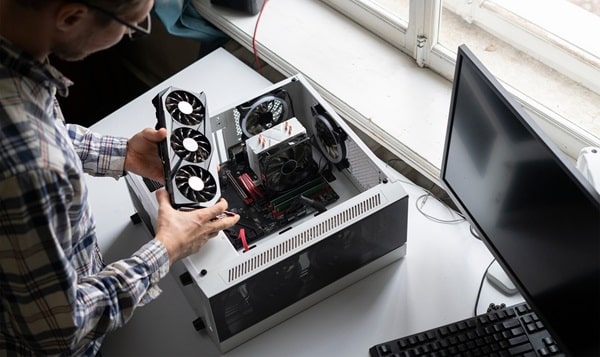
With all the preparations out of the way, the actual build process begins. First, the CPU is carefully placed into its socket on the motherboard. Special attention should be paid to the orientation; the CPU often has a marking or arrow to indicate the correct positioning. Once secure, the CPU cooler can be installed, complete with thermal paste, to ensure optimal heat distribution.
After the CPU and its cooler are in place, the next step involves installing the RAM sticks into their designated slots on the motherboard. Following that, both the SSD and HDD are mounted in their bays. The power supply is then positioned and secured in the case, and initial wiring is completed to connect the motherboard and other components. A meticulous
Post-Build Steps
Once the build is complete, the next focus is the operating system. A bootable USB drive containing the chosen operating system is plugged into the computer, and the system is powered on. On initial boot, the BIOS settings are accessed to set the USB drive as the primary boot device, allowing the installation process to commence.
After successfully installing the operating system, the next phase is driver installation. This step is crucial for the optimal functioning of hardware components. Manufacturers usually provide drivers on their websites, so it’s wise to download the latest versions. The drivers for the motherboard, GPU, and other peripherals need to be updated to ensure that the system performs at its best.
Fine-Tuning and Troubleshooting

Once the system is up and running, the builder should not be too quick to assume the job is complete. Basic functionality tests for each component should be run to verify that everything is working. Applications like CPU-Z can provide valuable data on hardware performance and possible bottlenecks in the system.
However, it’s not uncommon to encounter some issues during the initial run. Problems like system crashes, components not recognized, or poor performance often have straightforward solutions that can be found in community forums or the components’ manuals. Learning how to troubleshoot effectively is part of the journey and skill set of building a PC.
Future Upgrades and Maintenance
Once the PC is functioning correctly, the road doesn’t end. Keeping the system updated and considering future upgrades is essential for longevity. For instance, additional RAM or a more powerful GPU can be slotted in later as requirements evolve. Similarly, adding more storage can become necessary as files accumulate.
Maintenance is another ongoing aspect. Dust can be a considerable enemy of PC performance, clogging up fans and heat sinks. Regular cleaning, preferably every two to three months, is recommended. Software updates should also be performed consistently to keep the system secure and efficient.
The Bottom Line
Building a personal computer is not just a fulfilling project but a deeply educational experience. The cost benefits, customization opportunities, and acquired knowledge make it a rewarding endeavor worth the time and effort. Whether it’s for gaming, work, or daily tasks, the sense of accomplishment in building a system tailored to individual needs is unparalleled. With careful planning, patience, and some elbow grease, anyone can build their PC, reaping the multifaceted rewards that come with it.